![]()


Product Info
I tried blinking an LED with a ROHM microcontroller!
* "L chika" refers to the blinking of the LED.
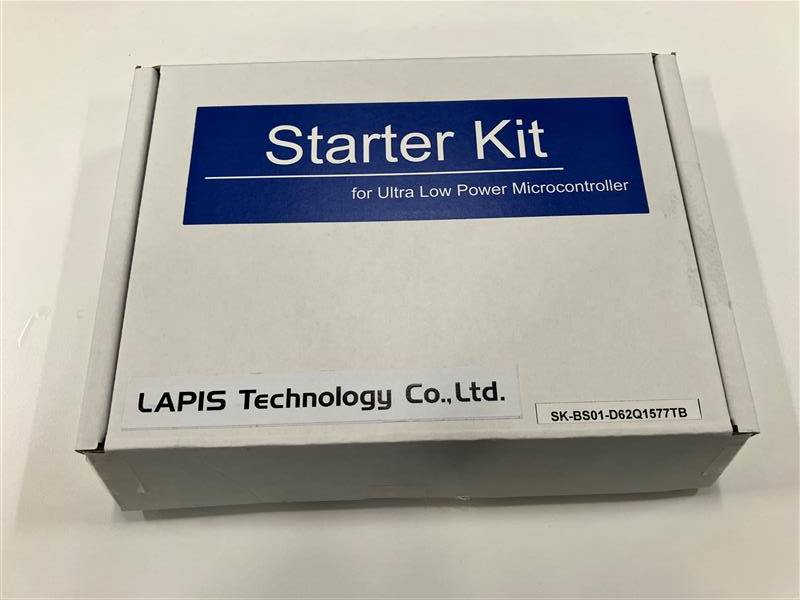
A new FAE who has been with the company for a year and a half created the LED blinking program for ML62Q1577-TQFP100, which is described here, by purchasing a ROHM Starter Kit (model number: SK-BS01-D62Q1577TB) and using the integrated development environment LEXIDE-Ω (hereinafter referred to as LEXIDE-Ω) and code generation tool Code Generation Tools (hereinafter referred to as Code Generation Tools).
The microcontroller used (ML62Q1577-TQFP100) is a general-purpose 16-bit microcontroller.
The Starter Kit you purchase contains everything you need to run the reference board, so even beginners can get started easily with just this Starter Kit.
I hope that through this column you will understand that even people who have never used ROHM microcontrollers or development environments can easily operate them.
table of contents
Development Preparation
Project Creation
- Chapter 2: Starting a new project
- Chapter 3 Initial setup with Code Generation Tools
- Chapter 4 Writing source code with LEXIDE-Ω
- Chapter 5. Building the Completed Project
Project Execution
inquiry
Development Preparation
Chapter 1: Preparing your PC environment and tools
The environment and tools used this time are as follows.
Software used
Those who have purchased the Starter Kit or on-chip emulator can download it free of charge.
- Integrated Development Environment
LEXIDE-Ω Ver2.0.0 - Code Generation Tools Ver4.0.0
ML62Q1000 Startup Setting Tool Ver2.10
ML62Q1000 Peripheral Setting Tool Ver2.30
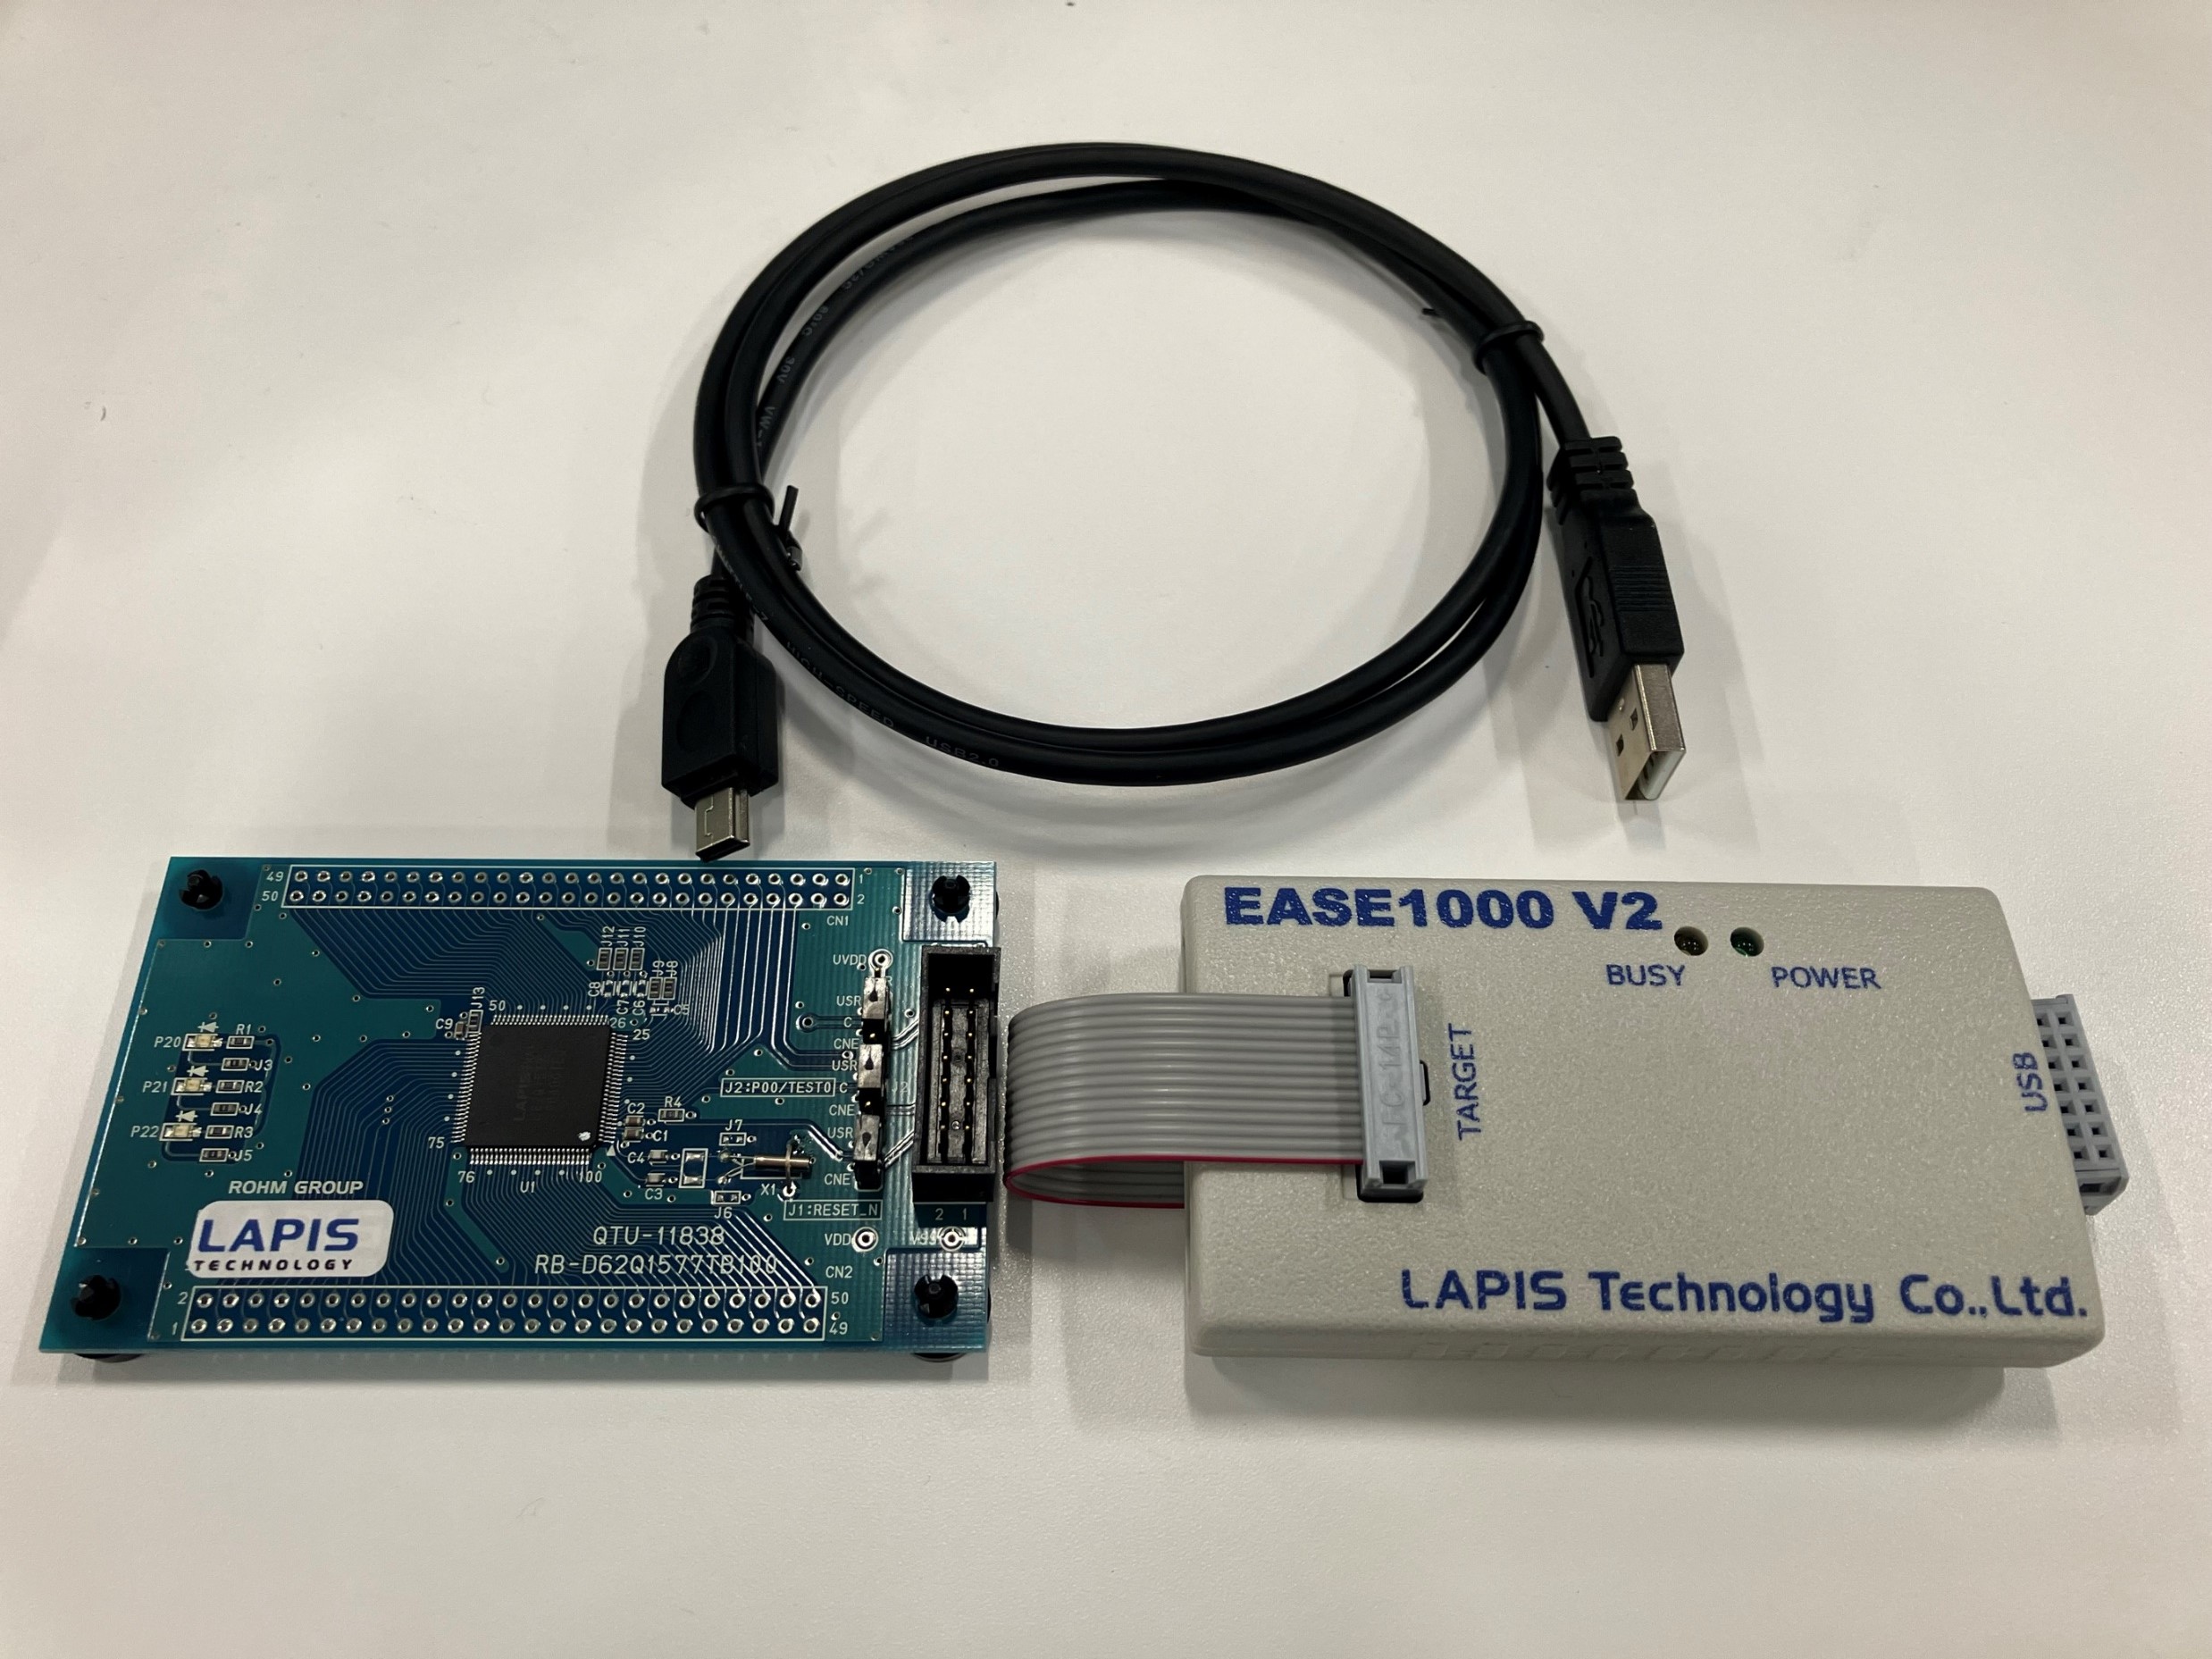
Hardware used
Included in the Starter Kit
- Reference Board
RB-D62Q1577TB - On-chip emulator
EASE1000 V2 - Interface cable, USB cable
The software to be used can be obtained from here
- About integrated development environments
You can download it from the URL page under “Support Content” → “LAPIS Development Tools LEXIDE-Ω”. - About Code Generation Tools
You can download it from the URL page under “Support Content” → “LAPIS Code Generation Tools”.
*To download, you will need the on-chip emulator serial code and your MyROHM login.
[One-point advice for new FAEs] About the development environment
The downloaded development environment can be used not only for evaluation but also for mass production development.
Therefore, development can be started simply by purchasing the evaluation kit.
Project Creation
Chapter 2: Starting a new project
This chapter explains how to start LEXIDE-Ω and create a new project.
- From the Windows Start menu, select LAPIS LEXIDE Tools → LEXIDE-Ω and set up your workspace.
- After launching LEXIDE-Ω, select “File” → “New” → “Project”.
- In the New Project dialog, select “C Project”.
- C In the Project dialog, enter the project name in “Project name” and
In the Project type field, select “Executable (LAPIS)” → “Empty Project”
Select “U8/U16 LLVM Toolchain(LAPIS OMF)” from the Toolchains section. - Select “NEXT” in the Select Configurations dialog.
- In the Select U8/U16 Device dialog, select the following:
Category: ML62Q1000
Group: ML62Q1500
After selecting LSI: ML621577, select "Finish". - Finally, delete the startup file (in this case, ML621577.ASM) from the created project.
Now you are ready to perform the initial setup of the Code Generation Tools.
Chapter 3 Initial setup with Code Generation Tools
In this chapter, we will use the Code Generation Tools to perform initial settings and peripheral function settings.
- From the Windows Start menu, select LAPIS Code Generation Tools →
Select and launch the ML62Q1000 startup setting tool. - Once launched, select "New Project" and select ML62Q1577 256K 100 TQFP100.
- You will be taken to a screen to save the project file, so enter the project file name and
Save it under the project folder created in Chapter 2. - This time, do not make any changes and select "Generate source files" to generate source files.
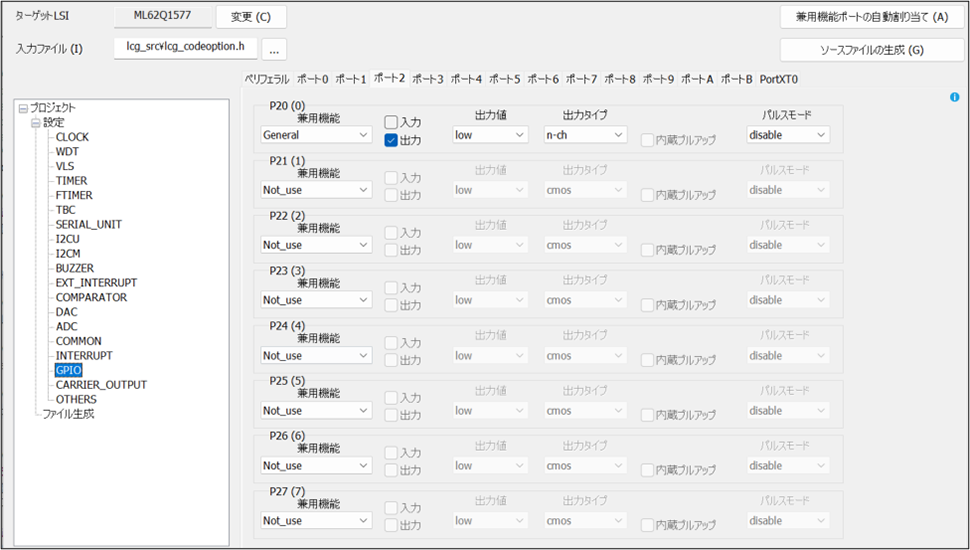
Now that the initial settings are complete, the next step is to configure the peripheral functions. - From the Windows Start menu, select LAPIS Code Generation Tools →
Select the ML62Q1000 peripheral setting tool and launch it. - Once launched, select "New Project" as before and select ML62Q1577 256K 100 TQFP100.
- You will be taken to a screen to save the project file, so enter the project file name and
Save it under the project folder created in Chapter 2. - Configure the settings as shown below, select "Generate source files" and generate source files.

The initial setup of the Code Generation Tools is now complete.
Chapter 4 Writing source code with LEXIDE-Ω
This chapter explains how to start LEXIDE-Ω and write source code.
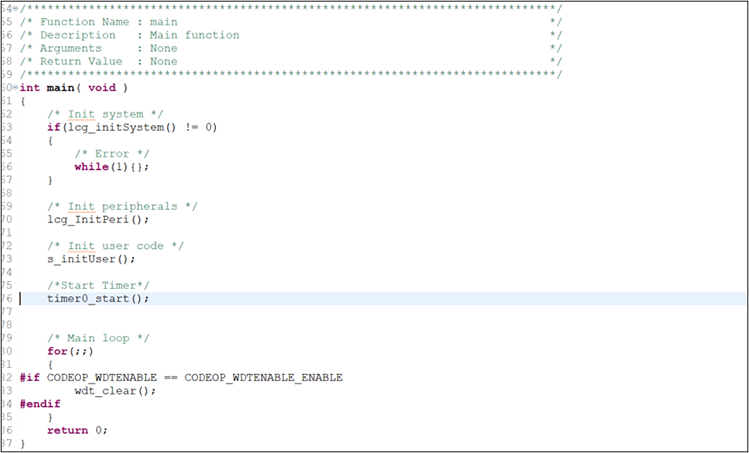
- Open the project file you created, “lcgu_src” → “lcgu_main.c”.
- Write “timer0_start()” under “s_initUser()”.
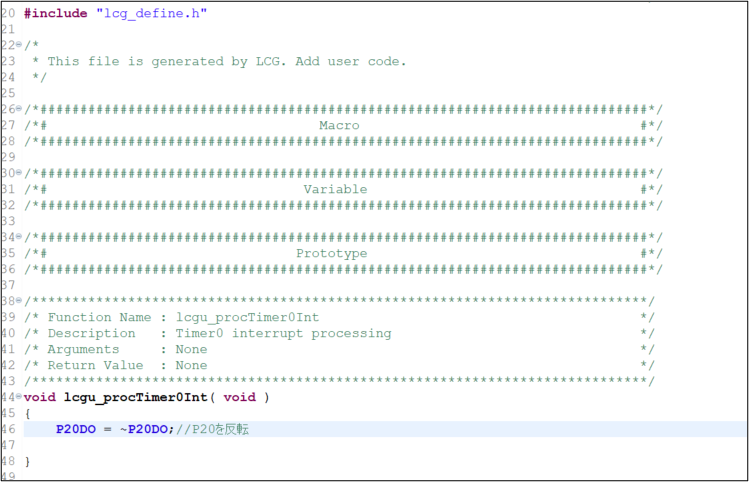
- Open “lcgu_src” → “lcgu_timer0.c”.
- Write "P20DO = ~P20DO" under "void lcgu_procTimer0Int(void)".
Now that we have written the source code, we will build it in the next chapter.
Chapter 5 Building the project you created
This chapter explains the steps to build a project created with LEXIDE-Ω.
- From the LEXIDE-Ω menu, select “Project” → “Properties”.
- Select “C/C++Build” → “Settings” → “Compiler” → “Includes”.
- Click the “Add directory path” icon and then select “Workspace”.
- Select a folder in the Folder selection dialog and click "OK".
This time, "driver" →"inc" folder, "lcg_src" folder, and "lcgu_src" folderSelect multiple items. - Select “Apply and Close”.
- From the LEXIDE-Ω menu, select “Project” → “Build Project” to build the project you created.
You have now built the project you created.
Debugging
Chapter 6 Debugging the created project
This chapter explains the procedure for debugging a project built with LEXIDE-Ω.
- Connect the reference board, emulator, and PC.
- Select "Debug" from the toolbar (① below), select the target to debug (② below), and click the Debug button
 Click (③ below).
- The Confirm Perspective Switch dialog will appear, so click “Switch” to move to the debug screen.
- Once you are on the debug screen, click the Resume button on the toolbar.
 Click
Click
The program you created will be executed and the LED on the reference board will flash.
You have now built the project you created.
Newbie FAE's first impressions
- I had a bit of trouble with the fact that the code generation tool's startup setting tool and peripheral setting tool were separate.
- The manuals for the development environment and code generation tools were written in Japanese and were easy to read.
Company Profile
- Company Name
- ROHM Co., Ltd.
- Established
- 1958
- location
- Kyoto
Inquiries regarding this product
Telephone enquiries
Solution Technology Department 1
03-6361-8090Reception hours: Weekdays from 9:00am to 5:00pm
Contact by email
Inquiry FormWe deliver email newsletters that provide useful information such as the latest news and industry trends. Subscription is free and easy, so please sign up!
If you have any questions or comments about Shinko Shoji, or would like to discuss our products or services, please feel free to contact us using the inquiry form below.